Remove or replace a product background? Choose the right first edit
Choose between a transparent cutout and a new scene in Sowar, avoid an unnecessary extra edit, and review the product before using the result.
 Sowar team
Do I need to remove the background before replacing it?
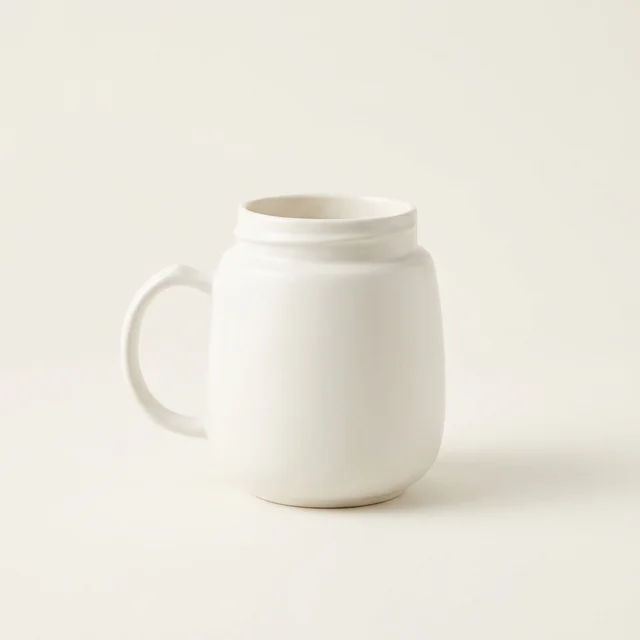
The cover is a studio example from Sowar’s existing library: a mug on a light background, not a transparent cutout or a before-and-after result for your product.
No. In Sowar, background removal and background replacement are separate actions. If you want a white studio, marble or wooden setting, apply a replacement directly to your source image. Use removal when you need a transparent cutout for a separate design. Do not spend an extra operation removing a background that you only intend to replace.
These are generative edits, not a guarantee that every product pixel will stay unchanged. Keep your original and compare the result before you use it in a listing.
Choose the output, not just a prettier background
| Need | First action | Check before use |
|---|---|---|
| A product placed over a separate layout | Remove background | Check actual transparency and the complete outline. |
| A plain listing image | Choose White Studio or Gray Studio | Check the product colour, label and contact shadow. |
| A styled supporting image | Choose Marble or Wooden, or describe a background in the editor | Check that the scene does not add accessories buyers may expect to receive. |
A white background is not a transparent background. If your designer needs a cutout, test the downloaded file against both a dark and a light background; a white rectangle is not a successful cutout.
Start with one original and one operation
- Keep a copy of the original. Upload a clear JPEG, PNG or WebP with the whole product visible; the editor accepts files up to 8 MB.
- Open the editor's Tools tab. For a cutout, choose Remove Background. For a new setting, choose a background preset directly. You do not need to remove the old background first.
- Treat a preset click as an operation, not a free preview. Background edits use credits and require a plan that provides access; check your plan and available balance before experimenting.
- Review the result at full size against the original before trying another setting. Download an acceptable result rather than producing extra versions without a use for them.
A precise brief for a supporting image
Example instruction — not a guaranteed result
“Place this coffee grinder on a plain wooden table with soft light from the left. Keep the grinder's shape, controls and logo unchanged. Add no cups, beans or accessories.”
The instruction tells the editor what to attempt. It does not prove the result meets the brief. Check the controls, logo and outline yourself; if the product changed, do not publish it because the scene looks convincing.
What should make you reject the result?
- A mug handle is partly missing or its opening has filled in.
- A grinder's buttons, markings or silhouette differ from the original.
- A transparent jar has become opaque, or the background shows through the wrong areas.
- The cutout has coloured fringes, missing edges or a solid rectangle where transparency was needed.
If removal fails, stop and inspect the source rather than repeatedly clicking the same action. A clearer original or a simpler background may be the better starting point. Do not hide a damaged edge with a more elaborate scene.
Review is separate from publishing
Download and check the intended crop before handing the image off. For Salla, confirm the correct product before deliberately pushing the accepted image, then inspect the storefront page. Completing an edit is not the same as updating the listing.